.svg)

Tutorials
How to structure an effective pitch deck to attract investors
Start with the structure that VCs expect most from your pitchdeck

PowerPoint is a powerful tool, but the way the default documents are configured is not necessarily the most adapted to the most common uses, which can make you waste time but also bring frustration to the use. When working on a PowerPoint presentation, you will not be able to avoid formatting / modifying the different elements that make up your slides (shapes, text boxes, etc.). Here are some tips and tricks to adapt PowerPoint to your use.
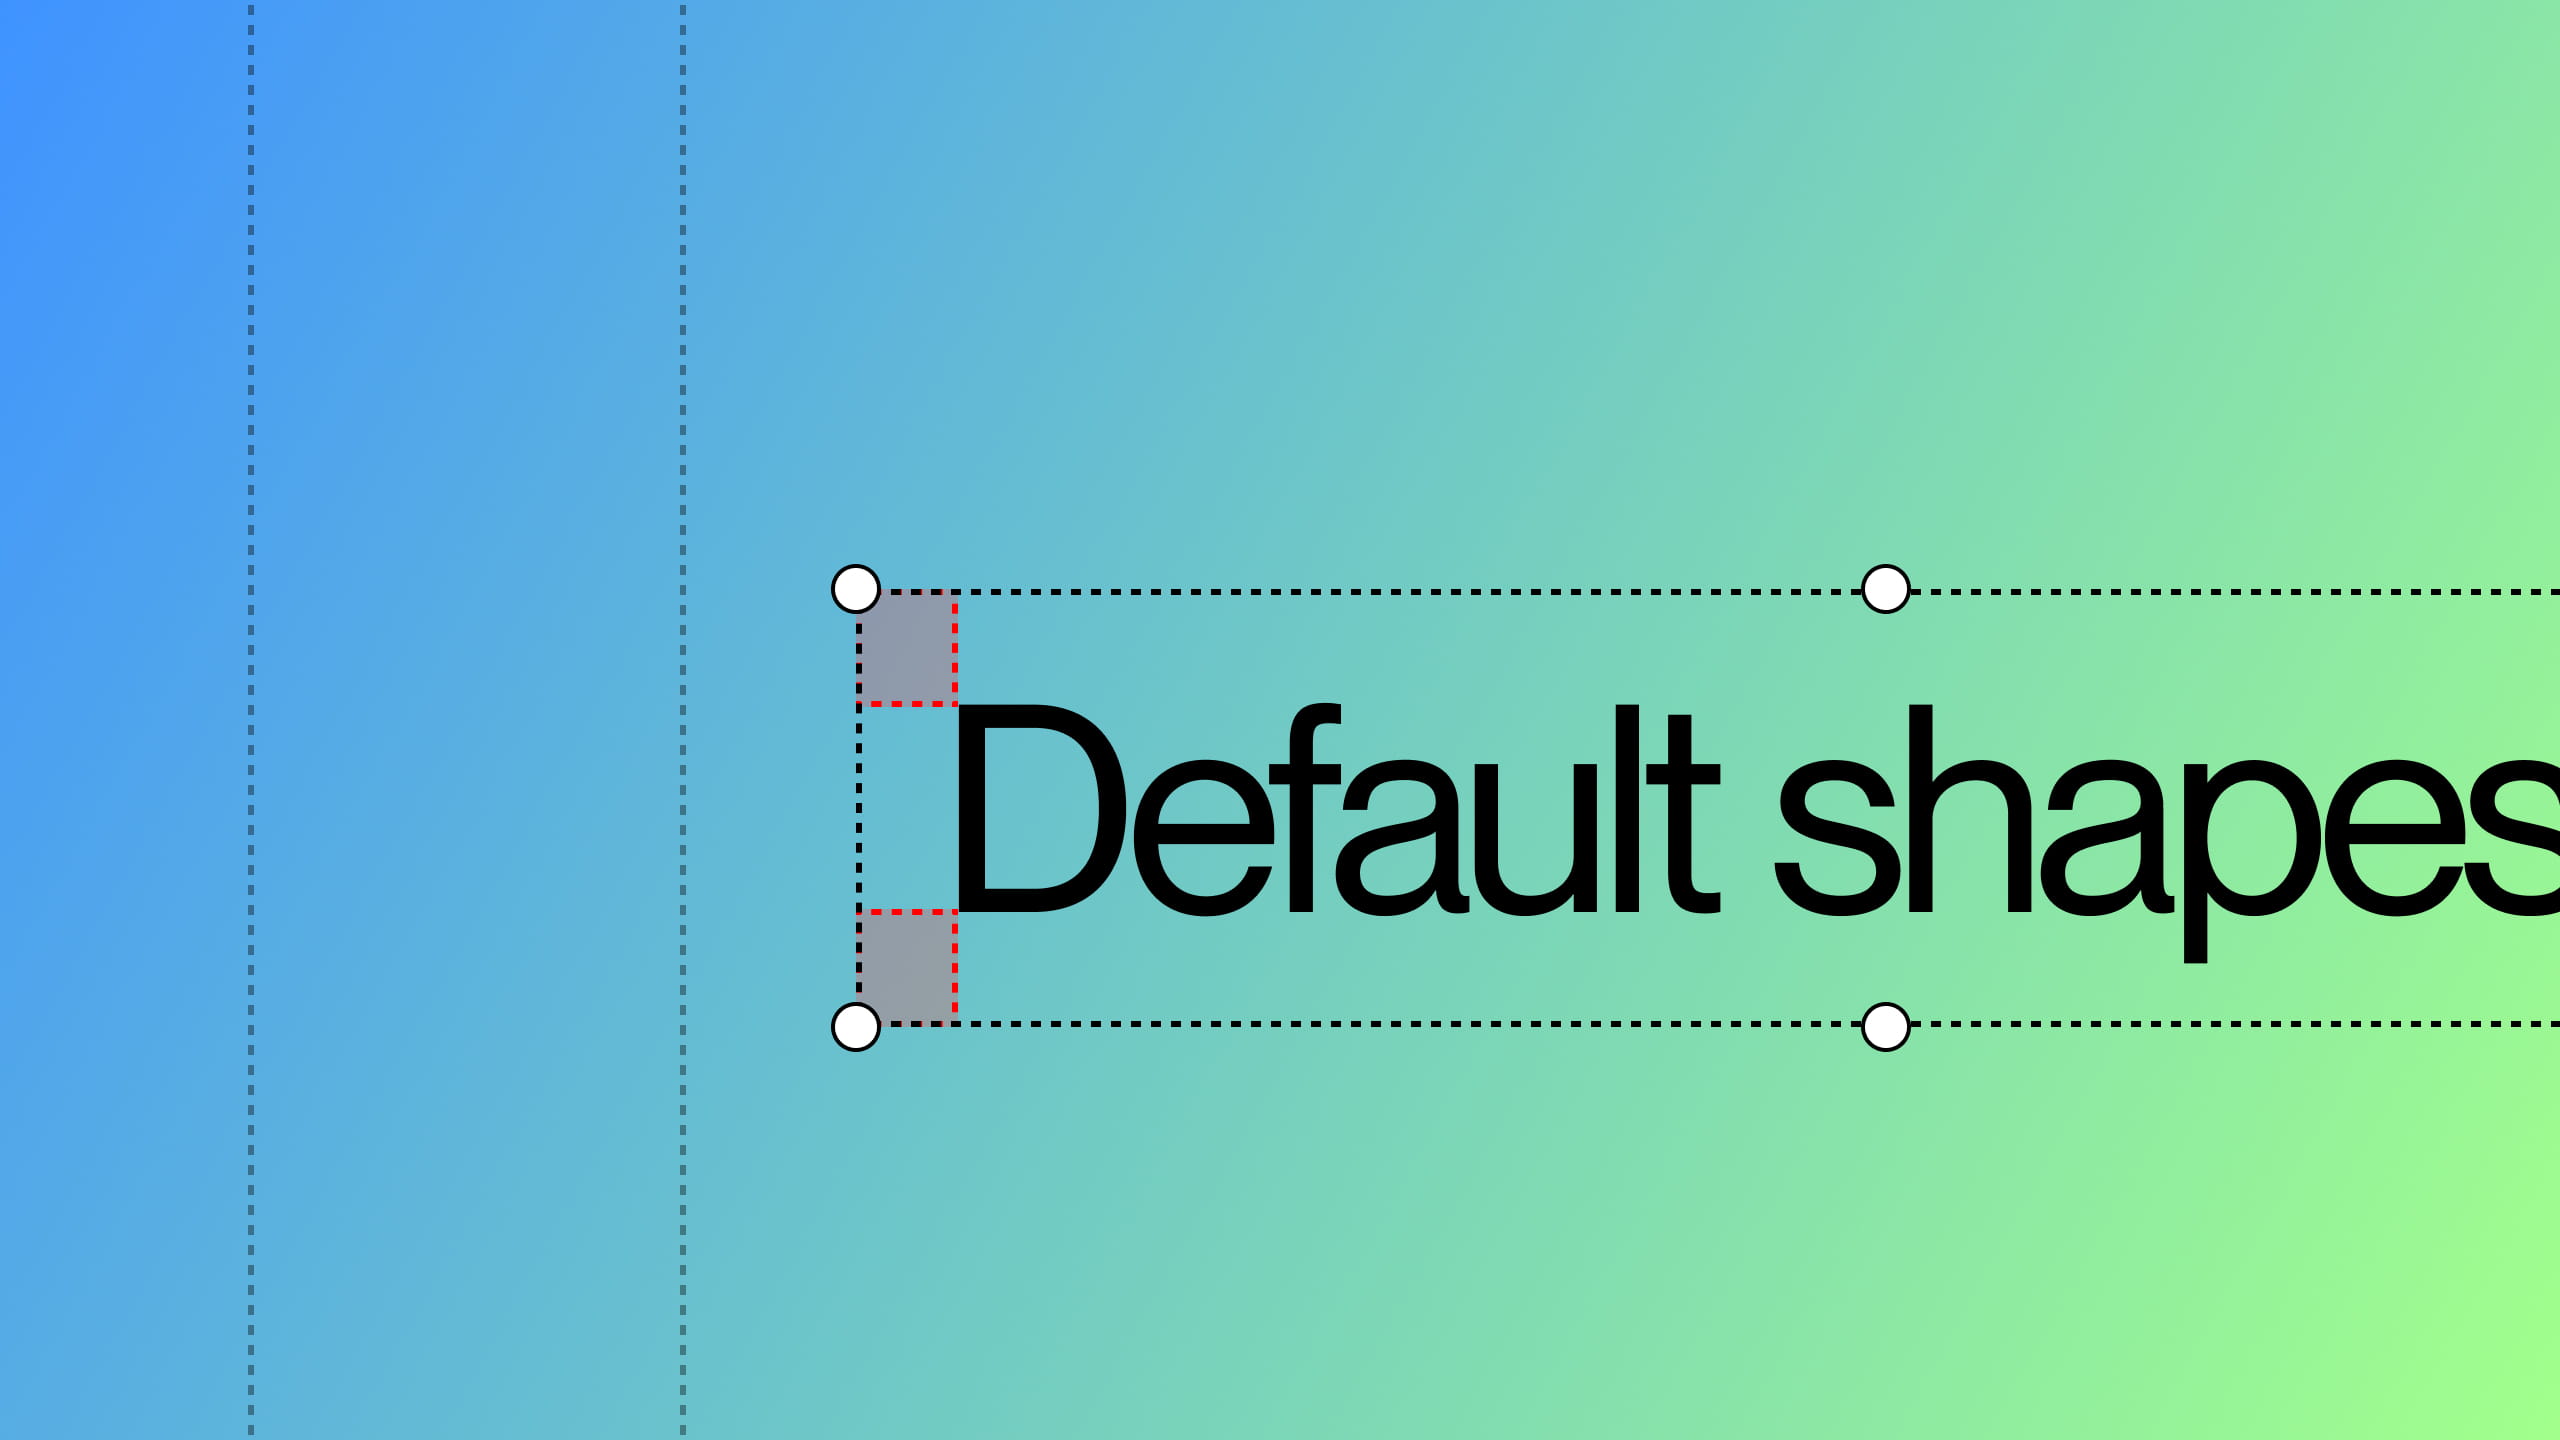
You will notice that when you create a new text field, inner margins shift your text so that you cannot align it correctly with other elements in your slide.
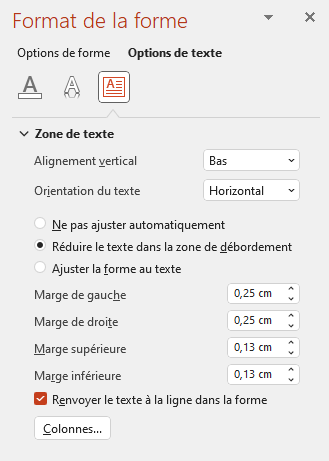
Fortunately, you can remove these by right-clicking on your text field and selecting Format Form. In the right pane, click on the Text Options tab, then the Text Area button just below it to access the margin settings. Set all four margins to 0 cm.
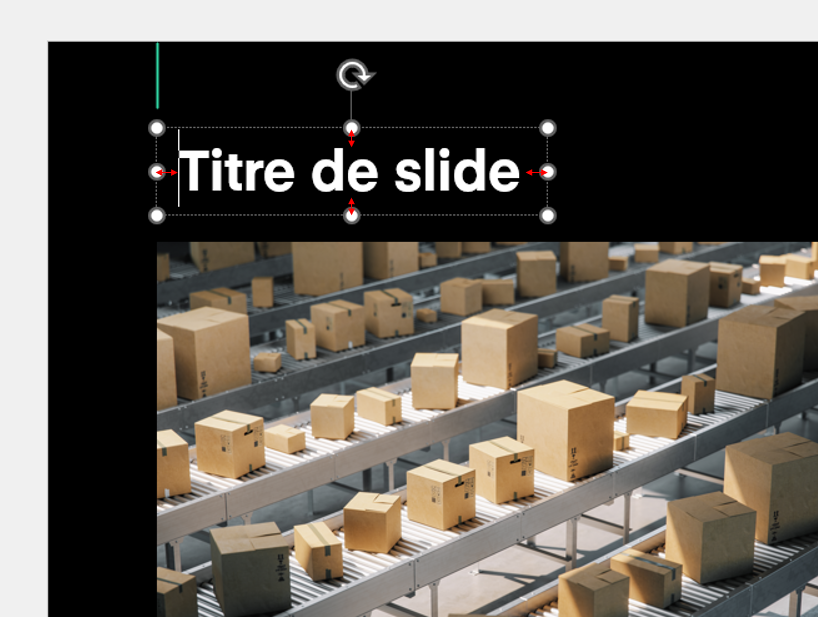
However, it is quickly annoying to have to do this again for each new text field. Fortunately, you can configure them by simply right-clicking on the shape containing your text (make sure you click on the selection frame of the shape and not directly on the text) and then on the option Set as default text field. This feature allows you to configure the default appearance of all text fields you create in the future. In this way, you can also change the font, color and size to match your average usage (usually it's your most commonly used body of text). This way, you won't have to manually reconfigure your text blocks each time you create new ones.
If you are looking for a professional to help you, you can consult our presentation design agency.
In a similar way, every time you insert a new geometric shape (rectangle, ellipse, freeform, etc), PowerPoint adds a rather unattractive outline to it by default. If you don't plan to use (or hardly use) shape outlines in your presentation, you can simply remove them from your shape (Right click >Shapeformat> Outline>No lines) and then in the same way as for the text field: Right click >Setas default shape. You can also configure a default color (or gradient) for your shapes, or any other type of formatting (shadow, glow, 3D effects) as well as the behavior of the texts directly entered inside your shapes (these are independent of the behavior of the text fields).
In addition, if you commonly use lines in your presentation, you can configure them for your most common use, according to their color or thickness (always via the same menu accessible via right-click >Format of the shape). Another less obvious but equally practical setting is the type of line end:
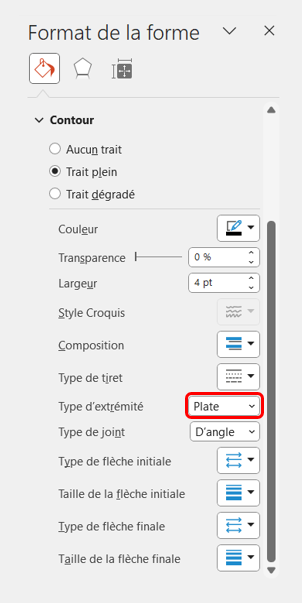
You can choose between 3 options: flat (default option), square or rounded, each one having its specificities.
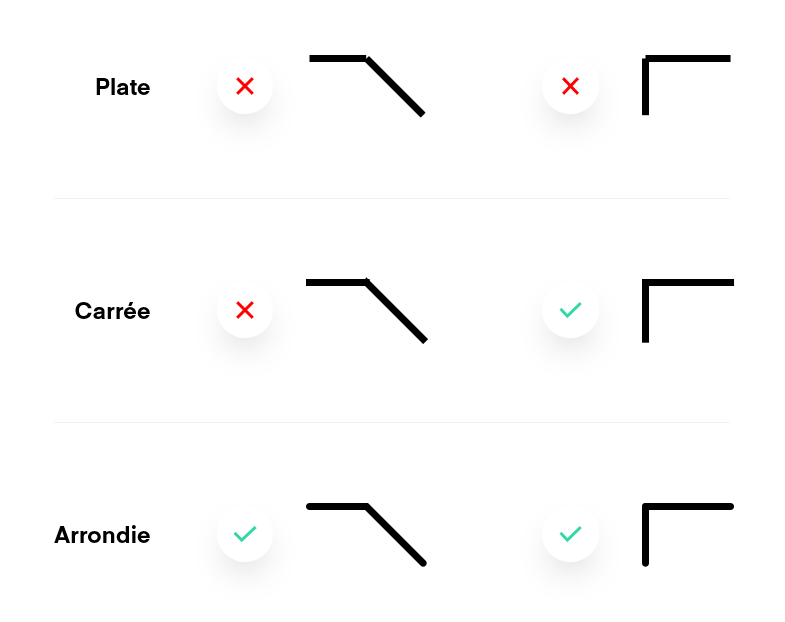
We can see here that as soon as you want to combine several strokes (to form patterns or to connect different blocks together for example), the default option has visual imperfections. Opting for square ends allows you to get clean right angles when you place two strokes perpendicular to each other, but you will always have errors when your strokes do not form a right angle. Rounded ends will render well at any angle, but your right corners will always be rounded, which may not suit the visual style of your presentation. Once you've made your choice, save the default stroke formatting by right-clicking on it, then Set as Default Stroke.
If the presentations you create are often based on the same principles, you can save this file as a working base, to be used for each new project. This way you won't have to redo each of these steps for your next presentations. You can also save these settings in PowerPoint so that you can use them when creating a new presentation.
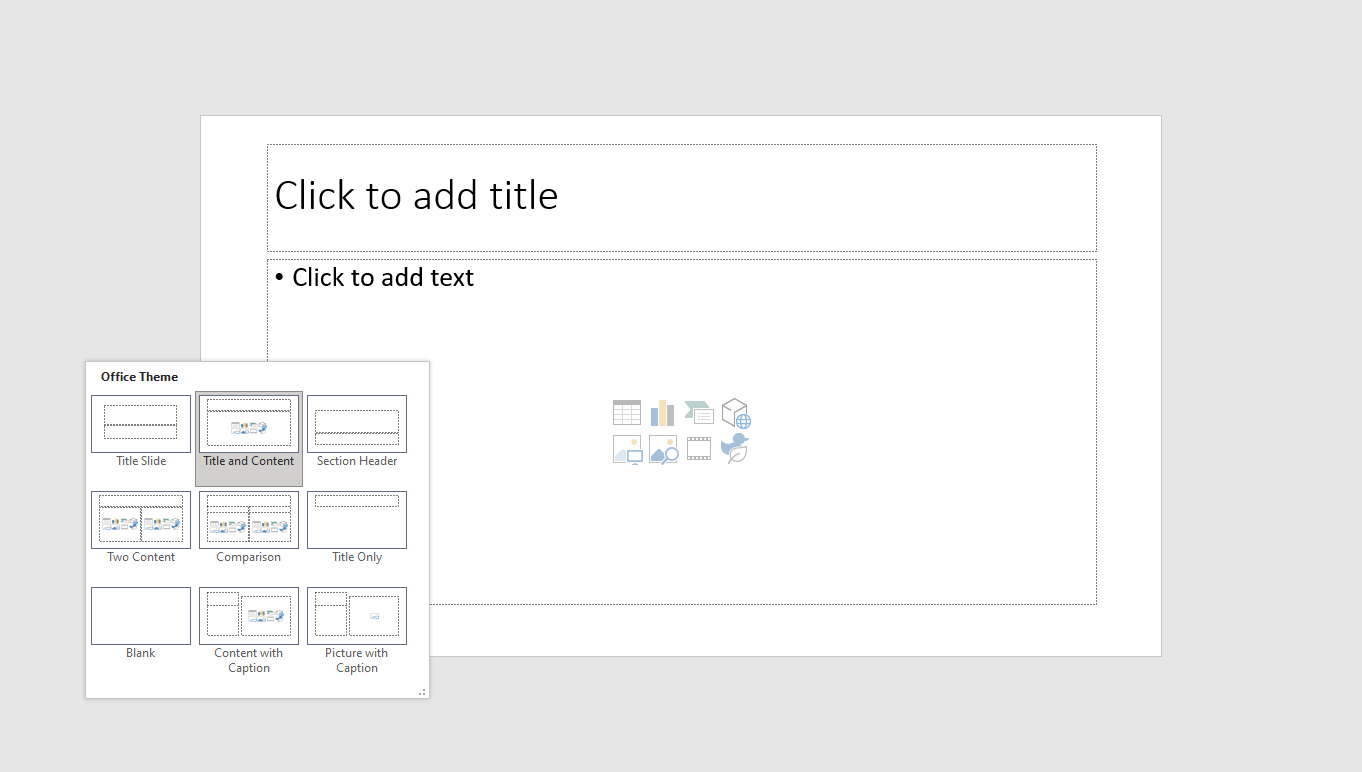
If your goal is to create your perfect base, there are other settings you can change in order to further optimize your saved file (or theme). Firstly, you can set up theme colors which will allow you to have your own default color selection when creating new presentations and free you from the default PowerPoint colors which are not the most beautiful. In the same way, you can incorporate and save theme fonts in the PowerPoint mask. Finally, you can rework the default PowerPoint mask to suit your habits: Go to the View menu and select Slide Mask. A number of layouts will be displayed, so don't hesitate to remove those that you don't need.
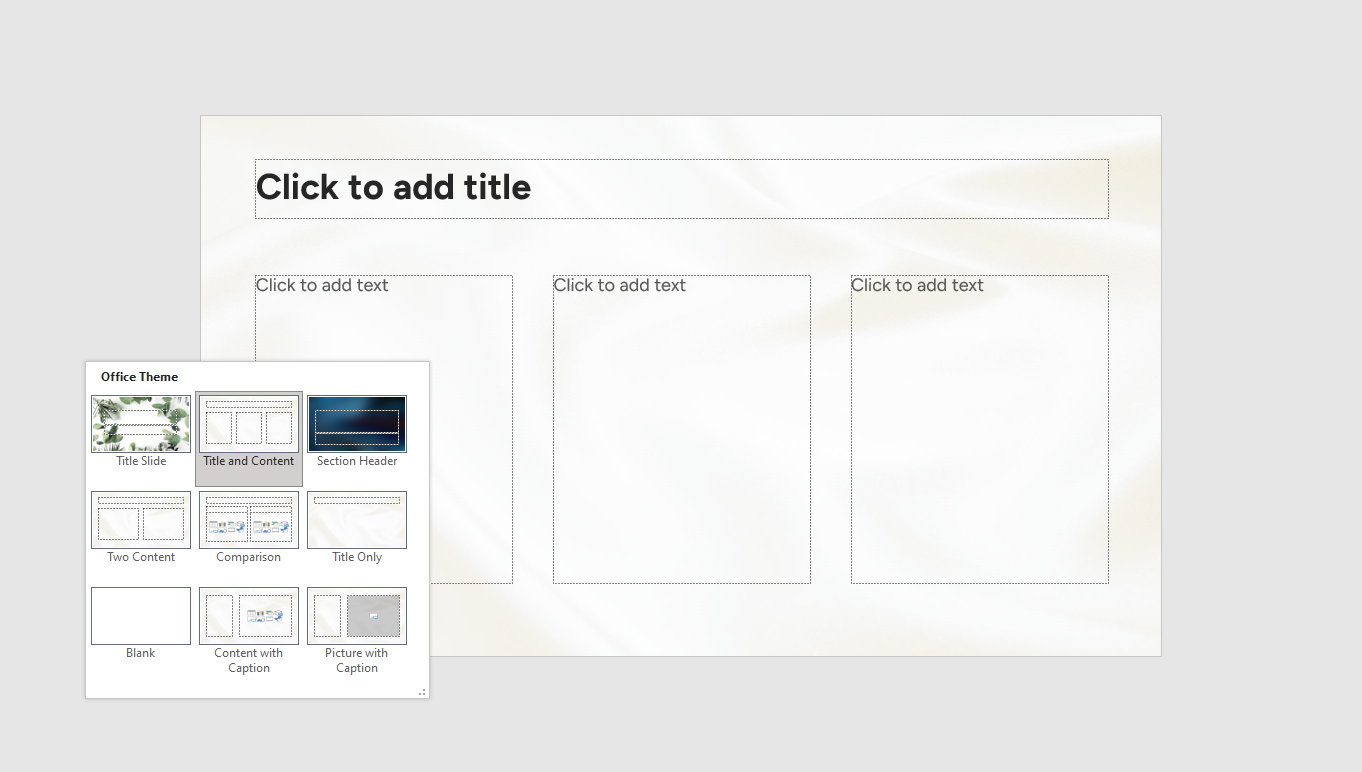
Then rework the essential objects (font formatting, color, position of titles and text zones, you can even add background images if you wish) to your liking. You can also take the opportunity to define a default slide transition.
Just like the features of shapes, text boxes, lines that we discussed at the beginning of this article, the various changes we just made in the slide mask mode can also be saved in your working base file (or theme).


